Leather chaps are durable, stylish, and protective gear commonly used by bikers, ranchers, and outdoor enthusiasts. Proper cleaning is essential to maintain their appearance, flexibility, and lifespan. Different leather types require specific care, especially when dealing with suede.
This guide explains, step by step, how to clean leather chaps correctly while also covering best practices for suede leather chaps. The goal is to help you protect your investment without damaging the material.
Understanding Leather Chaps Before Cleaning
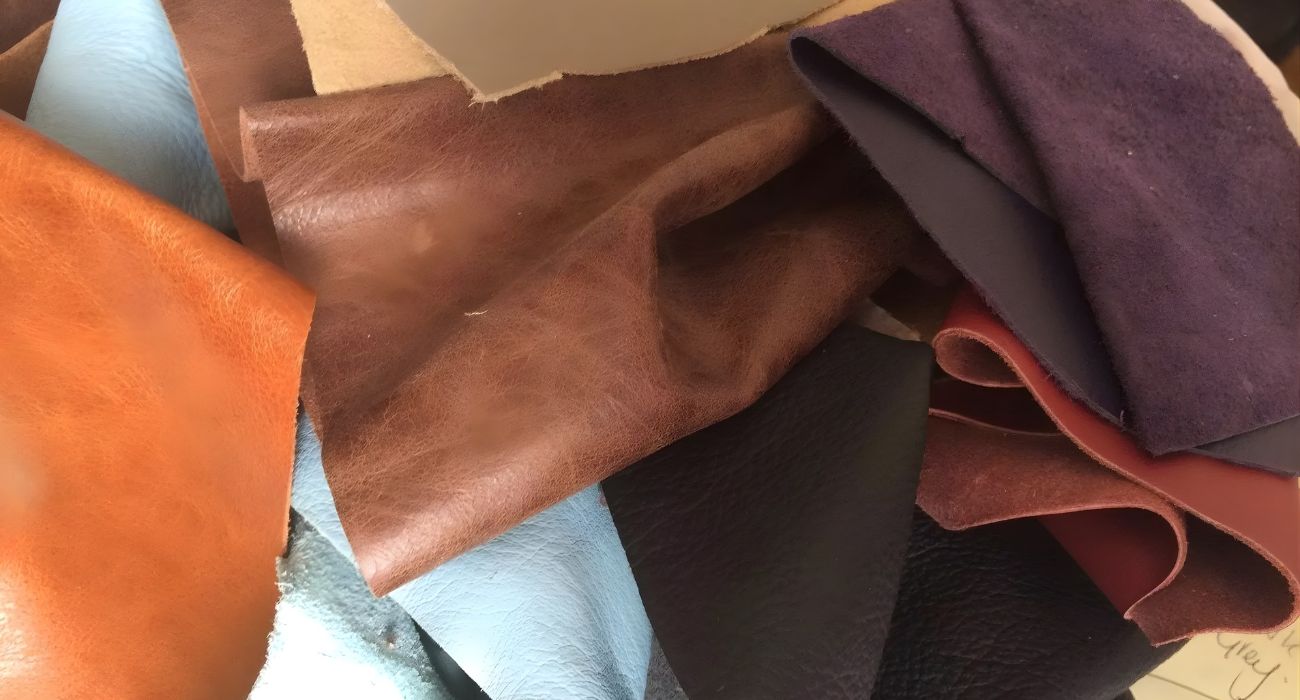
Leather chaps are typically made from cowhide, buffalo leather, or suede, and each type has distinct characteristics that affect how it should be cleaned. Smooth leather, such as cowhide or buffalo, has a tighter grain, which makes it more resistant to moisture, stains, and everyday wear. It can generally withstand gentle cleaning with mild products without losing its texture or flexibility.
Suede leather chaps, in contrast, have a soft, napped surface that easily absorbs liquids and dirt. This delicate texture can be damaged by excessive moisture, harsh cleaners, or abrasive scrubbing. Before cleaning any leather chaps, it is important to identify the type of leather, as this determines the safest cleaning methods and ensures that the material remains in good condition over time.
Essential Supplies You Will Need
Before cleaning leather chaps, it is important to gather the right supplies, as using the wrong products can damage the leather. A soft microfiber cloth is ideal for wiping away dust, while a soft-bristle brush can help clean seams and textured areas gently. Lukewarm water and a mild leather cleaner are recommended to remove dirt without drying out the leather, and a good leather conditioner restores moisture and flexibility after cleaning.
For suede leather chaps, a suede brush is needed to lift the nap and maintain its soft texture, and a suede-safe cleaner ensures dirt and stains are removed without harming the delicate fibers. Having these tools ready makes the cleaning process safer and more effective.
How Often Should You Clean Leather Chaps?
Regular maintenance prevents deep stains and cracking. Light cleaning should be done after every few uses, especially if exposed to dust, road grime, or sweat.
A deep clean is only necessary when visible dirt or odor buildup appears. Over-cleaning leather chaps can strip natural oils and reduce their lifespan.
Step-by-Step Guide to Cleaning Leather Chaps
Cleaning Leather chaps properly requires a careful, methodical approach to protect the material while removing dirt and stains. Leather is durable but sensitive to moisture, harsh chemicals, and abrasive scrubbing, so each step should be done gently and patiently. Following a step-by-step process ensures the leather remains supple, maintains its color, and lasts for years.
- Step 1: Remove Surface Dirt
Lay the chaps flat on a clean surface. Use a dry microfiber cloth or soft brush to gently remove dust and loose dirt. Never scrub aggressively, as this can scratch or dull the leather surface. - Step 2: Spot Test the Cleaner
Apply a small amount of leather cleaner to an inconspicuous area. Wait a few minutes to ensure there is no discoloration or damage. This step is essential, especially for dyed or treated leather chaps. - Step 3: Clean the Leather Gently
Apply a small amount of cleaner to a damp cloth. Wipe the leather using slow, circular motions. Avoid soaking the leather, as excess water can cause stiffness or warping once the chaps dry. - Step 4: Wipe Off Residue
Use a clean, slightly damp cloth to remove any cleaner residue. This prevents buildup that can attract dirt later. Make sure no excess moisture remains on seams or edges. - Step 5: Air Dry Naturally
Hang the chaps in a well-ventilated area at room temperature. Keep them away from direct sunlight, heaters, or hair dryers, as heat can dry out leather and cause cracking over time.
Conditioning Leather Chaps After Cleaning
After cleaning, leather naturally loses some of its essential oils, which can make it dry, stiff, and more prone to cracks over time. Conditioning replenishes these oils, keeping the leather soft, flexible, and protected from wear. To condition, use a small amount of high-quality leather conditioner on a clean cloth and gently massage it into the surface in circular motions, paying extra attention to areas that flex the most, such as the knees, thighs, and seams. Allow the conditioner to absorb fully before wearing or storing the chaps. Avoid over-applying, as too much product can leave the leather greasy, attract dust, or cause uneven darkening. Conditioning also helps restore the natural color, maintain a subtle sheen, improve resistance to minor water exposure, and enhance overall durability. Performing this step regularly not only keeps the leather comfortable to wear but also extends the life of your chaps, preserving their appearance and protective qualities for years.
How to Clean Suede Leather Chaps Properly
Suede leather chaps are delicate and require careful handling due to their porous, napped surface, which absorbs dirt, oils, and moisture more easily than smooth leather. Improper cleaning can leave permanent stains, flatten the nap, or alter the texture of the suede. Because suede is less forgiving, it’s important to use specialized tools and gentle techniques to preserve both its appearance and softness. Following a careful, step-by-step process ensures your suede chaps remain clean, supple, and long-lasting.
- Dry Brushing First
Use a suede brush to gently remove dirt and restore the nap. Brush in one direction for best results. This step alone often removes light dust and minor scuffs. - Handling Stains on Suede
For dry stains, gently rub with a suede eraser or a clean pencil eraser. Work slowly to avoid flattening the suede fibers. For oil or grease stains, sprinkle cornstarch or talcum powder and let it sit overnight before brushing off gently the next day. - Using Suede Cleaner
If deeper cleaning is necessary, use a cleaner specifically designed for suede leather chaps. Apply sparingly and follow the product instructions carefully. Never saturate suede, as excessive moisture can permanently damage the texture. - Drying Suede Safely
Allow suede chaps to air dry naturally in a well-ventilated area. Once dry, brush the nap again to restore the soft, velvety texture. Avoid hanging suede in damp or humid environments, as this can lead to mold or stiffness.
What Not to Do When Cleaning Leather Chaps
Leather is durable but sensitive to harsh chemicals, excessive moisture, and improper handling. Using household cleaners like bleach, ammonia, or alcohol can strip the leather of its natural oils, causing it to dry out, crack, or discolor permanently. Machine washing or fully submerging leather chaps in water can weaken the fibers, ruin stitching, and warp the shape of the garment. Similarly, silicone-based sprays or non-leather-specific products may leave residues that attract dirt or damage the finish. Avoiding these common mistakes is essential to maintain the flexibility, appearance, and longevity of your leather chaps.
Removing Odors from Leather Chaps
Leather chaps can absorb sweat, body oils, and environmental moisture, which often leads to unpleasant odors over time. Light odors can usually be managed by airing the chaps out after each use in a well-ventilated space, allowing trapped moisture to evaporate naturally. For stronger or persistent smells, place the chaps in a breathable garment bag with a small container of baking soda nearby, making sure the powder does not touch the leather directly. Leave the chaps overnight, then air them out thoroughly the next day. Regular airing combined with proper cleaning and conditioning helps keep leather chaps fresh, comfortable, and free from lingering odors.
Storing Leather and Suede Chaps Correctly
Proper storage is essential to preserve the shape, texture, and longevity of leather chaps. Always keep them in a cool, dry environment, away from direct sunlight or heat sources that can dry out and crack the leather. Hang the chaps on wide, padded hangers to maintain their natural shape and avoid creases or folds. Avoid using plastic covers, as leather needs to breathe to prevent moisture buildup and deterioration. For suede leather chaps, it is especially important to store them in low-humidity areas to prevent mold, mildew, and permanent damage to the delicate nap. Following these storage practices ensures your chaps remain in excellent condition and ready for use.
Protecting Leather Chaps from Future Damage
To extend the life of leather chaps, applying a protective spray can help repel water, dirt, and stains while maintaining the leather’s natural flexibility. Always choose a product that is compatible with your specific type of leather, as some sprays can alter color or texture. For suede leather chaps, a suede-specific protector is essential, as it adds resistance to stains while preserving the soft, breathable nap. Regular use of protective sprays, combined with proper cleaning and conditioning, reduces the need for intensive cleaning and helps keep your chaps looking and performing their best over time.
Final Thoughts
Leather chaps are designed to provide durability, protection, and comfort, but even the toughest leather requires proper care to maintain its performance and appearance. Cleaning and conditioning them correctly helps preserve their flexibility, prevent cracking, and keep the leather looking vibrant and professional. By following the recommended steps for both smooth leather and suede chaps, including gentle cleaning, careful conditioning, odor management, and proper storage, you can ensure that your chaps last for years while retaining their protective qualities and style. Consistent maintenance is the key to extending the lifespan of your leather gear and keeping it in excellent condition ride after ride.


Recent Comments